How to make a felt board
During my time as a teacher in China, I had the privilege of teaching children aged 2-6 years old. That means a lot of songs, games and, of course, stories. I remember during my own kindergarten years that story-time was one of my favorite times of day, especially when the teacher brought out the felt board, and so, when I had my own classrooms, a felt board was the first thing that I would make. There are so many stories that make wonderful felt-board editions, and the children love to play with them in their own time.
Aside from story-time, felt boards are a lovely way to teach as they can help young children to visualize the lesson. But more importantly it can help them to interact more with the material. Part of my circle time was to do the date, starting with simple days of the week, for younger kids, up to the full date when they were older. Other activities, like the alphabet, counting, and colors all become more fun when you can physically move around the pieces on the board.
My partner is also a teacher and at the moment teaches many classes online. And he loves to use the felt board pieces that I’ve made over the years, so that’s what we’ll be doing today: making a new felt board from some pretty cheap materials.
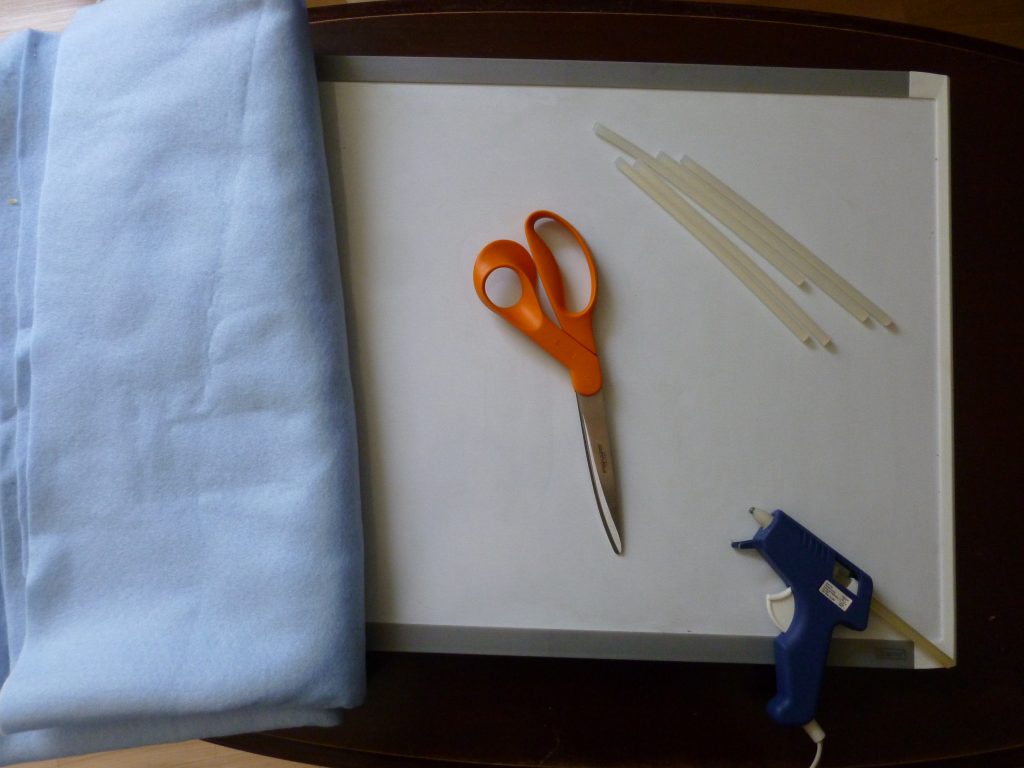
What you’ll need for this project:
- One white board or cork board, however big you want it to be. Mine is a white board, and I will turn the back into the felt board, leaving the white board open for different lessons (more on this in the future).
- Felt: you’ll need enough to cover the surface of your board plus give yourself about 0.5” all around to go around the edges (some boards are thicker than others); you can get felt yardage at your local fabric store. You’ll want to use a bright, relatively neutral color like light blue (sky) or light green (grass).
- Hot glue gun
- Hot glue gun sticks (if you have long ones you should only need one)
- Scissors
Now that we have all of our supplies, let’s begin!
If your felt is anything like mine, the first thing you’ll need to do is to give it a good ironing. Use the wool setting on your iron, give the felt a spritz with water and get that as flat as you can get it. Flip it over and iron again if there are any creases.
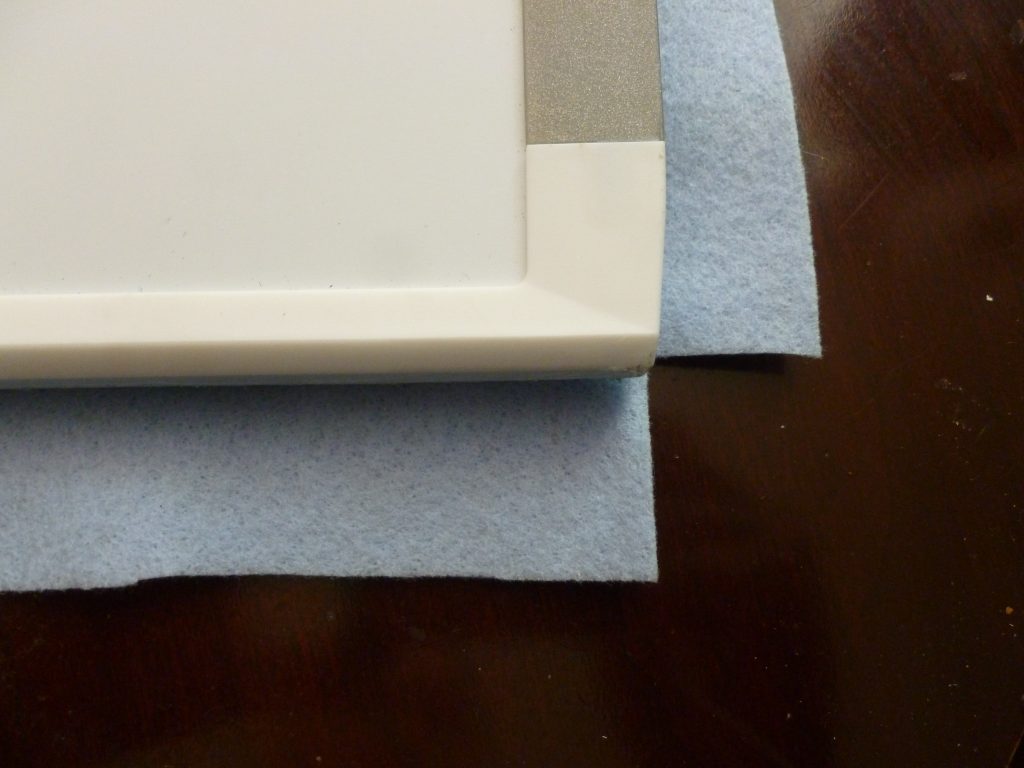
Next, you’ll cut your felt to the size of your felt board, with 0.5” all around. Don’t worry too much if your cutting wasn’t straight, you can cut that off once the felt board is glued together. Cut out the each corner of felt, so you won’t have overlaps.
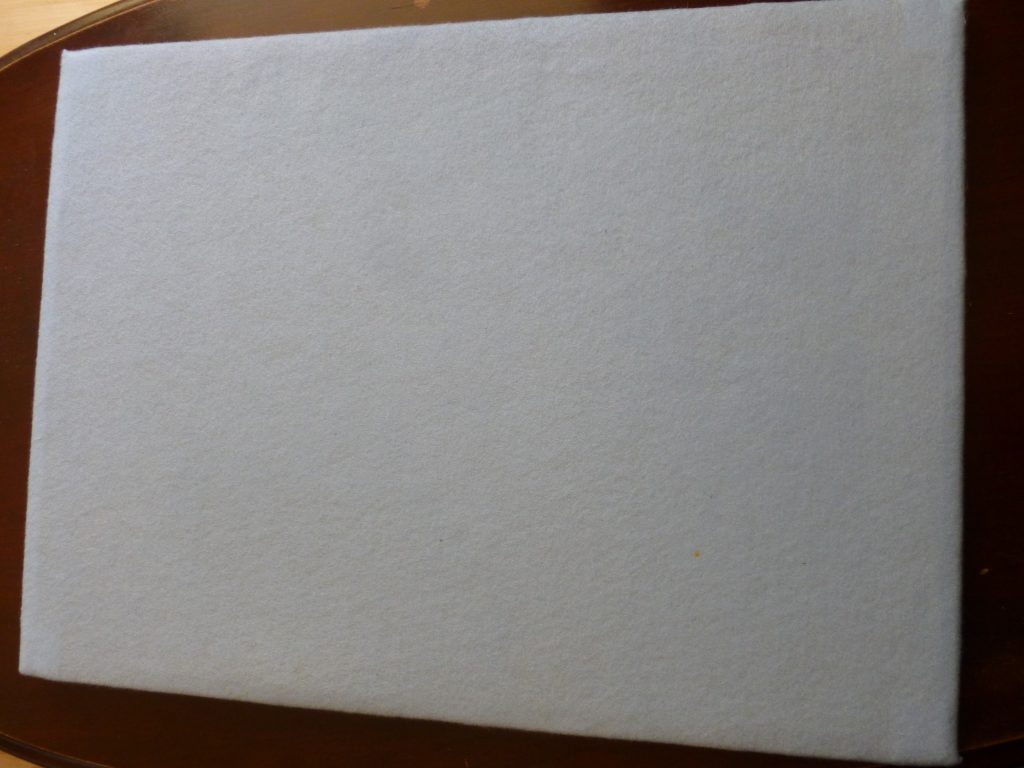
Notice that I have the white board side up. That’s because I’ll want to use the white board side for future lessons, so I want to make sure that the felt is on the other side.
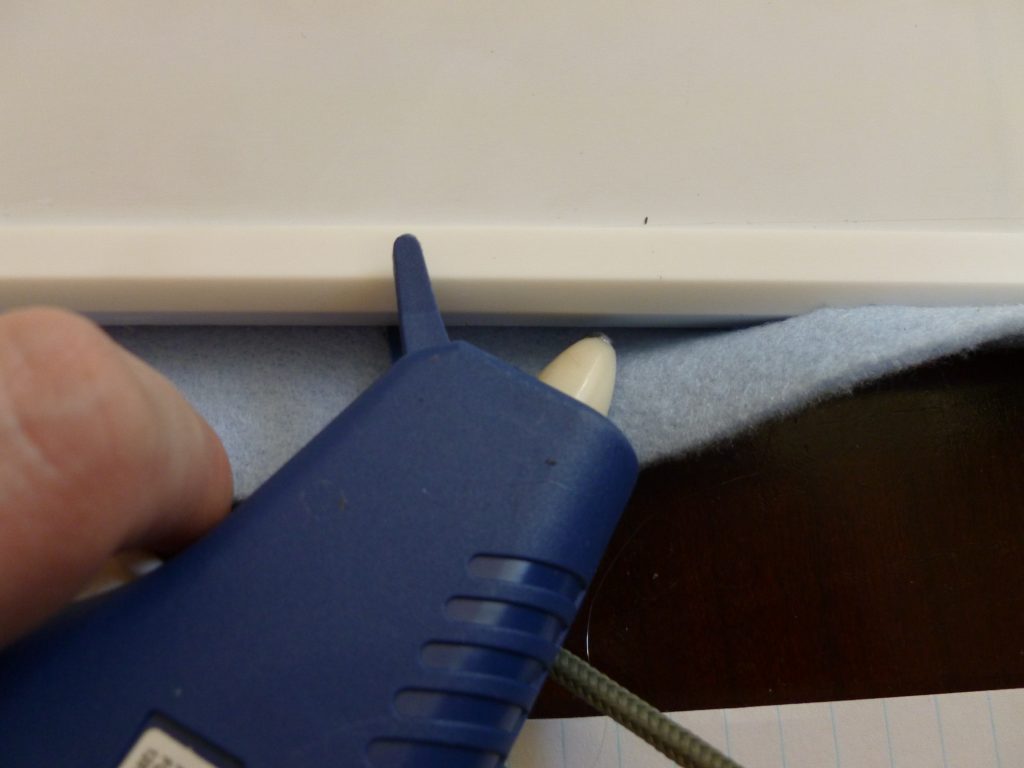
Now, we’re just going to glue the felt to the edges of the white board. It helps to have a second pair of hands to lean on the white board so you can pull the felt as tight as you can around, but if you’re doing this by yourself, you can just kneel lightly on the board. Do this for all sides.
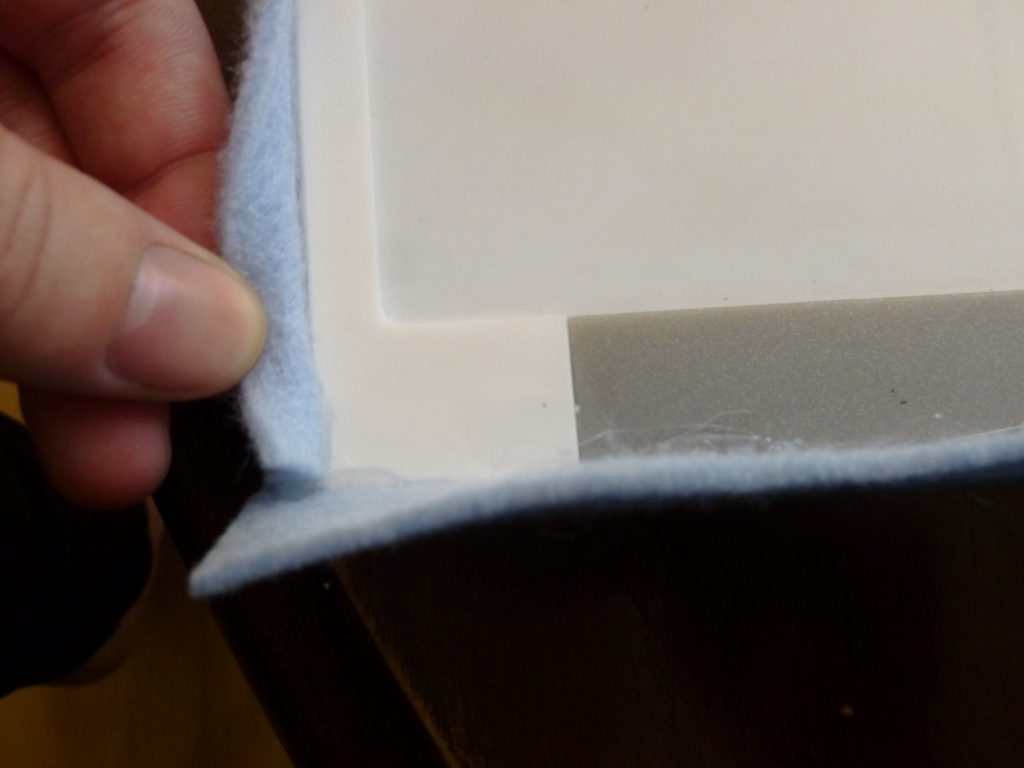
Now that the sides are glued, turn over the board and make sure that everything is flat. Is it? Great! Move on to the next step. If not, use your iron to reheat the hot glue and adjust carefully.
When the felt is flat on the felt board side of the project, you might have some excess felt. You have two options here, you can continue gluing it down, if you don’t mind the felt wrapping around to the white board side. Or you can trim it. To trim it, just line the edge of your scissors along the side of the felt board (here’s where having no overlap on the corners really helps J) and carefully trim off the excess, being as neat as possible with your cutting.
And there you go! One ready to use felt board (and in my case, white board) for your classroom!
Next time, we’ll start working on some activities for our felt board, starting easy with the ABCs! See you soon!